Sarah stared at her lawn in disbelief last October. The pristine green carpet she’d pampered all summer had transformed into something resembling a soggy bath mat. Dark patches of moss crept across what used to be her pride and joy, leaving her wondering where she’d gone wrong.
Like thousands of homeowners across the country, Sarah discovered that autumn can turn even the most carefully maintained lawns into moss-covered disappointments almost overnight. But while she was researching expensive treatments and chemical solutions, her Dutch neighbor mentioned something that sounded too simple to work.
“Just sprinkle some wood ash,” he said with a shrug. “We’ve been doing it for generations. No moss, no problem.”
What Makes Dutch Lawn Moss Prevention So Effective
The Dutch technique for stopping moss isn’t rocket science, but it’s brilliantly simple. Instead of fighting moss after it appears, Dutch gardeners prevent it by changing the fundamental conditions that allow moss to thrive in the first place.
This approach centers on understanding that moss doesn’t just randomly invade healthy lawns. It targets weakened grass growing in acidic, waterlogged soil. By addressing these underlying conditions before moss gains a foothold, the Dutch method creates an environment where grass flourishes and moss simply can’t compete.
“Moss is nature’s way of telling you your soil needs help,” explains horticultural specialist Dr. James Mitchell. “The Dutch figured out long ago that prevention beats cure every time.”
The secret weapon? Wood ash from clean, untreated timber. This simple byproduct of winter heating contains powerful alkaline compounds that naturally neutralize acidic soil conditions where moss loves to grow.
Why Your Lawn Becomes a Moss Magnet
Understanding why moss invades helps explain why the Dutch technique works so well. Moss doesn’t need much to get started, but it absolutely requires specific conditions that spell trouble for grass.
Acidic soil is moss’s best friend. When soil pH drops below 6.0, grass roots struggle to absorb essential nutrients like nitrogen and phosphorus. The grass weakens, thins out, and creates perfect entry points for moss spores carried by wind and rain.
Poor drainage makes everything worse. Waterlogged soil suffocates grass roots while moss thrives in constantly damp conditions. Areas under trees, beside buildings, or in natural depressions become moss highways leading straight across your lawn.
- Compacted soil that stays wet for days after rain
- Yellowing grass despite regular feeding and watering
- Bare patches appearing in shaded areas first
- A spongy, soft feeling underfoot instead of firm turf
- Soil that feels sticky and clings to your shoes
These warning signs typically appear weeks before visible moss patches, giving you a crucial window for prevention using the Dutch approach.
The Step-by-Step Dutch Method
The beauty of Dutch lawn moss prevention lies in its simplicity and timing. This technique works best in late autumn, typically between October and November, when moss is preparing for its winter growth spurt.
| Step | Action | Timing | Amount Needed |
|---|---|---|---|
| 1 | Collect clean wood ash | Throughout heating season | 5-10 lbs per 1000 sq ft |
| 2 | Test soil pH | Early October | Multiple spots across lawn |
| 3 | Apply ash evenly | Late October/November | Light dusting, barely visible |
| 4 | Water gently | Within 24 hours | Light sprinkle to activate |
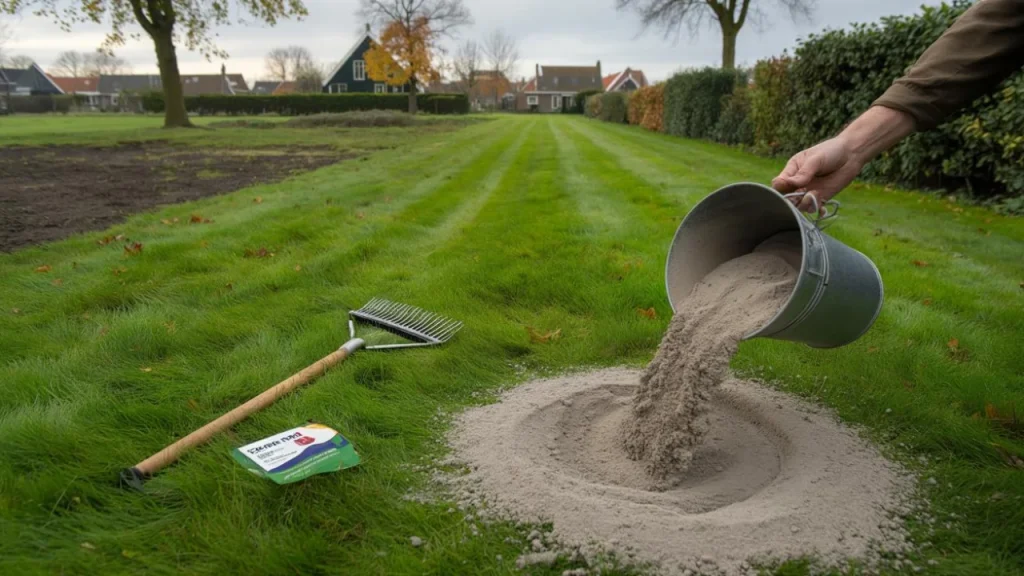
The application itself couldn’t be simpler. Using a broadcast spreader or even a large kitchen sieve, you distribute a thin layer of ash across the entire lawn surface. The goal is barely visible coverage – think powdered sugar on a cake rather than salt on icy roads.
“Less is definitely more with wood ash,” notes landscape contractor Emma Thompson. “You want just enough to nudge the pH upward without shocking the grass.”
The ash works slowly but steadily throughout winter, gradually alkalizing the soil and creating conditions where grass roots can access nutrients more efficiently. By spring, the improved soil chemistry gives grass a significant head start over any potential moss invasion.
What This Means for Your Garden
The impact of proper Dutch lawn moss prevention extends far beyond just avoiding unsightly moss patches. Healthier soil chemistry creates a cascade of benefits that transform your entire lawn’s performance.
Stronger grass means better drought resistance. When roots can efficiently absorb nutrients in properly balanced soil, grass develops deeper root systems and better water retention capabilities. This translates to less watering, lower maintenance costs, and a lawn that stays green longer during dry spells.
The technique also reduces the need for chemical treatments. Many homeowners spend hundreds of pounds annually on moss killers, fungicides, and specialized fertilizers. The Dutch approach addresses root causes rather than symptoms, often eliminating the need for these expensive interventions.
“I’ve seen homeowners cut their lawn care costs by 60% after switching to preventive ash treatment,” reports garden center manager David Chen. “Plus, their grass looks better than ever.”
Environmental benefits matter too. Wood ash is a completely natural byproduct that would otherwise go to waste. Using it for lawn care creates a sustainable cycle that reduces chemical runoff while improving soil health.
Common Mistakes to Avoid
While the Dutch technique is straightforward, several common errors can reduce its effectiveness or even damage your lawn. The most frequent mistake is using too much ash too quickly.
Overapplication can swing soil pH too far in the alkaline direction, creating new problems for grass growth. Start with light applications and test soil pH annually to track changes.
Using the wrong type of ash is another pitfall. Only ash from clean, untreated hardwood should be used. Coal ash, ash from pressure-treated lumber, or ash containing painted or chemically treated wood can introduce harmful substances into your soil.
- Never use ash from treated or painted wood
- Avoid coal ash or charcoal ash completely
- Don’t apply ash to wet grass or during rainy periods
- Skip ash treatment if soil pH is already above 7.0
- Store ash in a dry, covered container until use
FAQs
How often should I apply wood ash using the Dutch method?
Once per year in late autumn is typically sufficient. Test your soil pH annually to determine if continued treatment is needed.
Can I use this technique on all grass types?
Most common lawn grasses benefit from slightly alkaline conditions, but test a small area first if you have specialty grass varieties or acidic-loving plants nearby.
What if I don’t have a fireplace or wood stove?
You can often obtain clean wood ash from friends, neighbors, or local garden centers. Some tree services also provide ash from clean wood chipping operations.
Will this method work on existing moss?
The Dutch technique is primarily preventive. Existing moss should be removed first, then ash applied to prevent return. The improved soil conditions will help grass fill in bare spots naturally.
Is wood ash safe around pets and children?
Clean wood ash is generally safe when properly applied and watered in, but avoid letting pets or children play on freshly treated areas until the first watering.
How long before I see results?
Soil chemistry changes occur gradually over winter. Most homeowners notice improved grass health and reduced moss pressure by the following spring growing season.